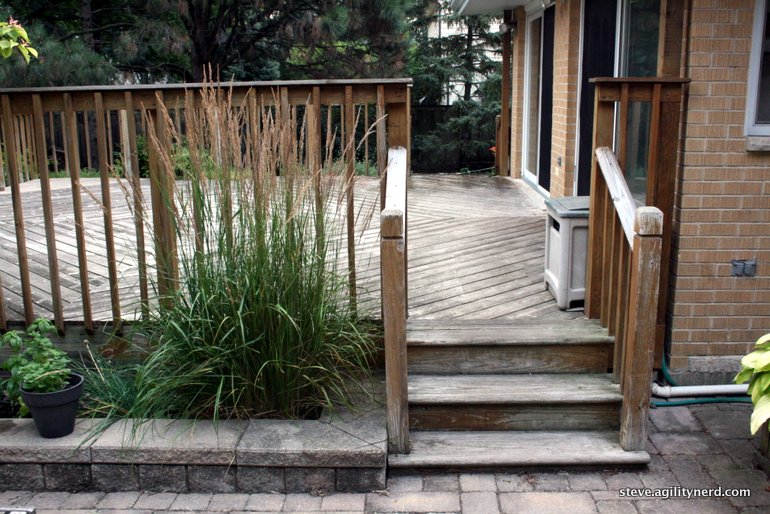
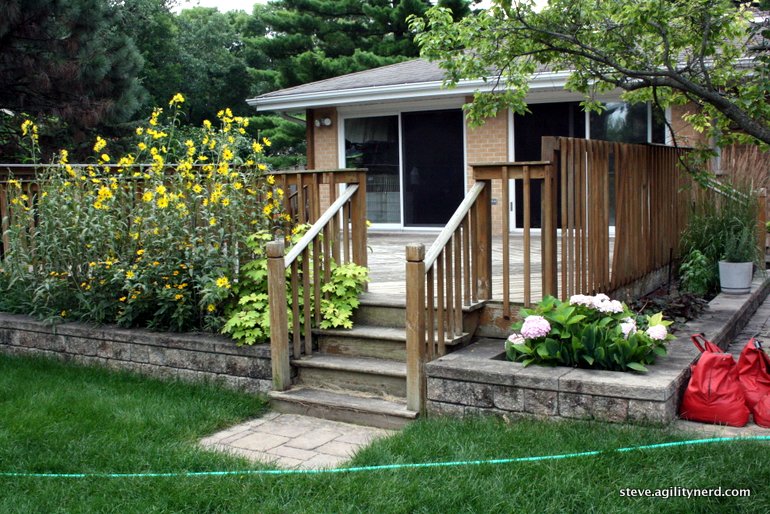
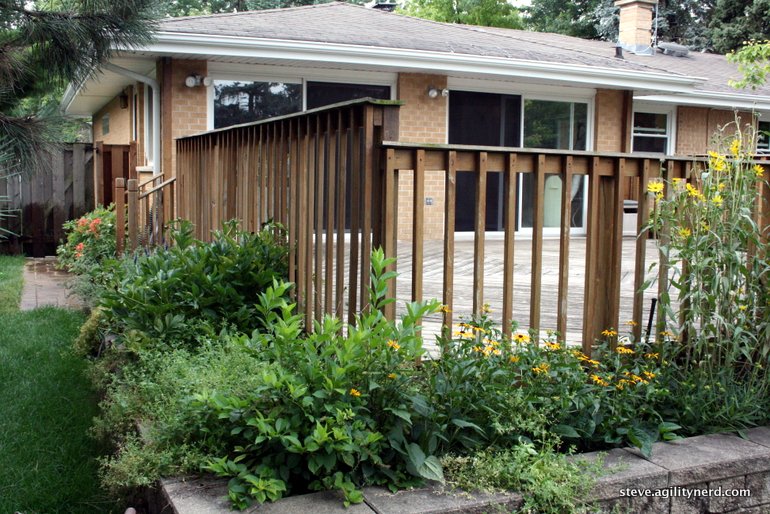
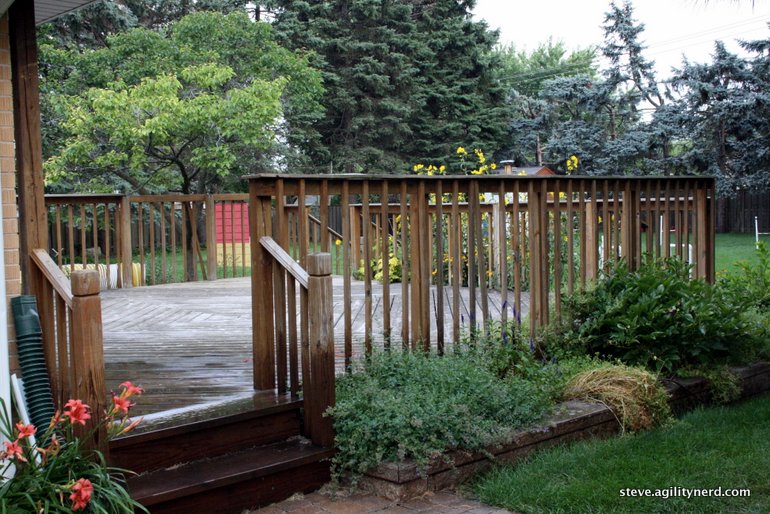
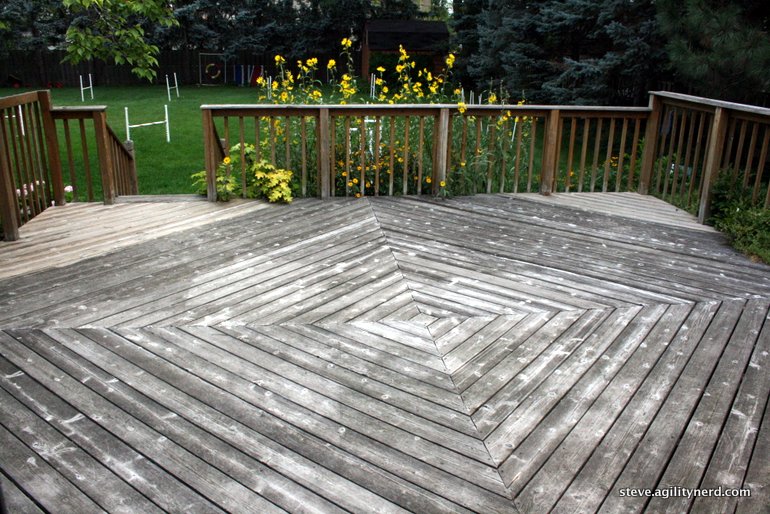
Last year I finally decided to address the problems with my deck. It badly needed refinishing, the railings were warping, I didn't like their height and style, and I wanted to modernize it's look. About six or eight years ago I repaired and refinished the railings and deck. But subsequent warping of the lumber and the headache of refinishing all the railing slats made me turn this into a bigger project.
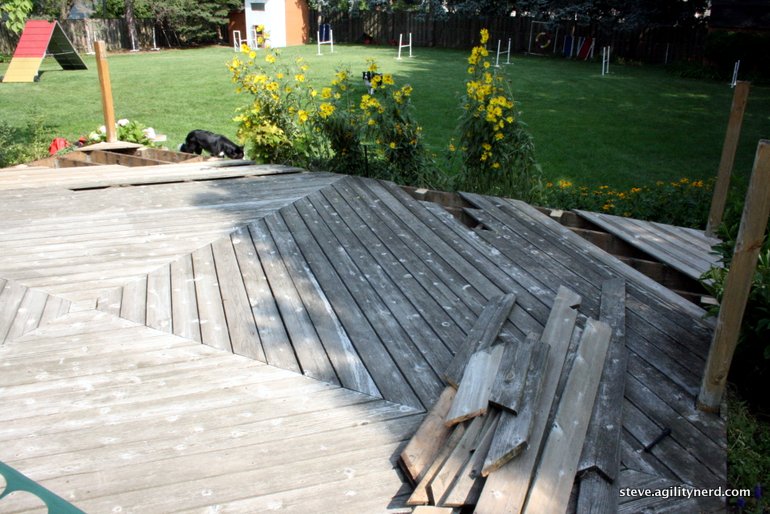
Here are the before photos (with the results of some power washing that I abandoned when I started this bigger project):
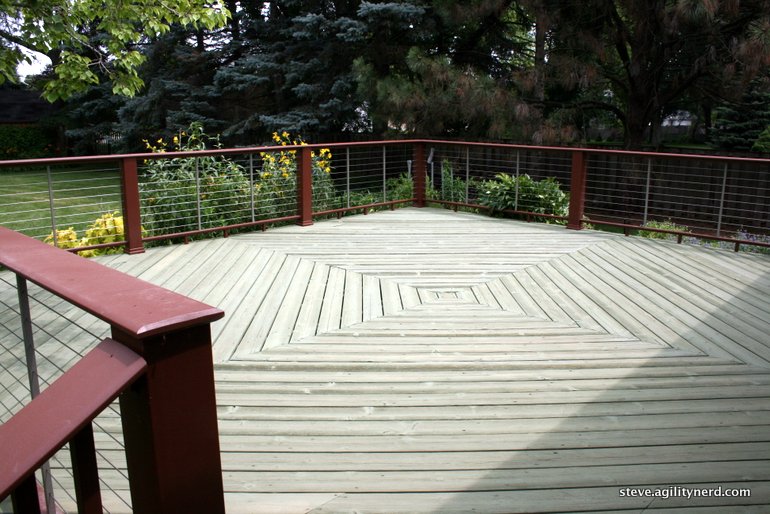
The Bigger Project
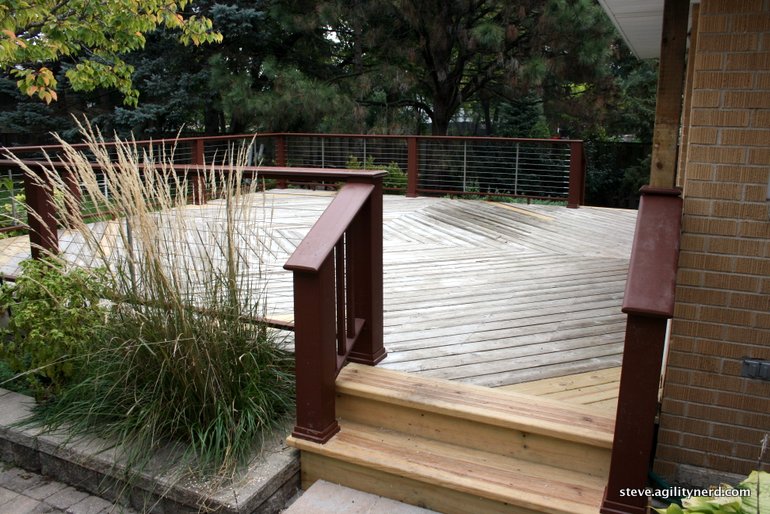
So rather than repair the railings I decided to replace them.
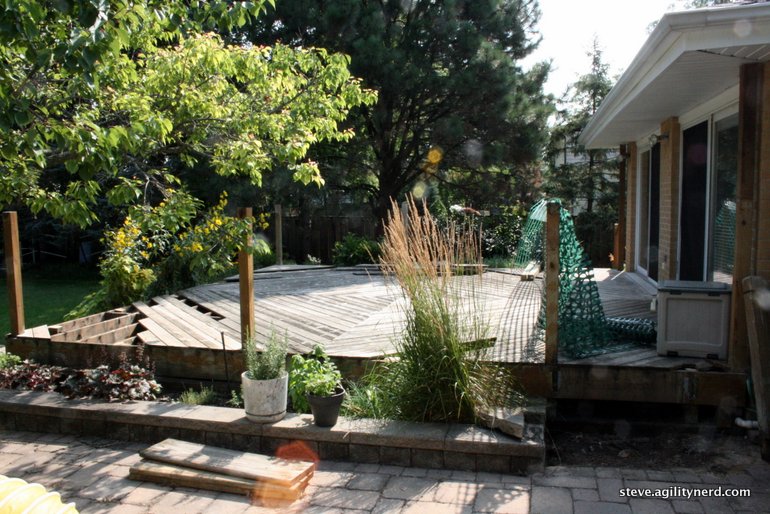
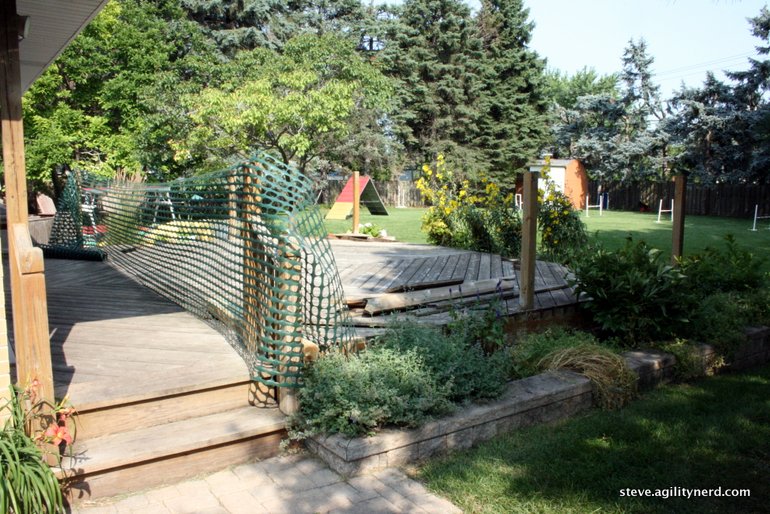
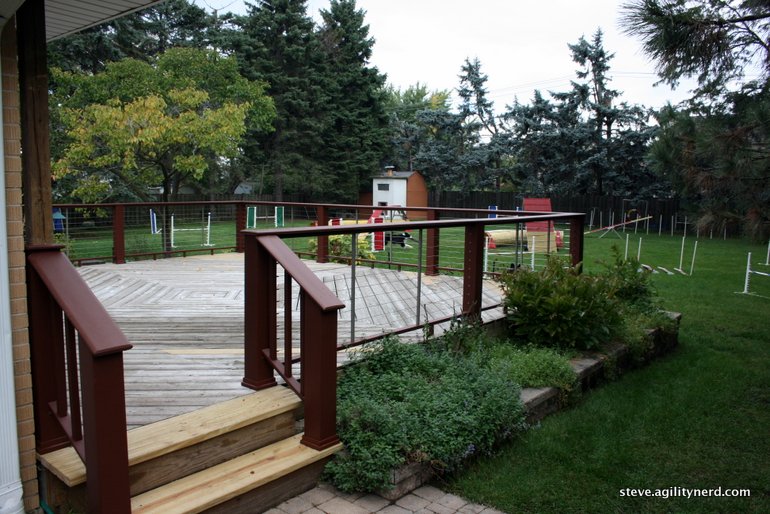
I also decided to remove the set of stairs straight out from the sliding doors. It was only used by the dogs for leaping off into the yard. It's brick landing area also took a three foot by three foot section out of my lawn. The removal of the stairs also simplified the layout/installation of the new railings and reduced the cost of materials too.
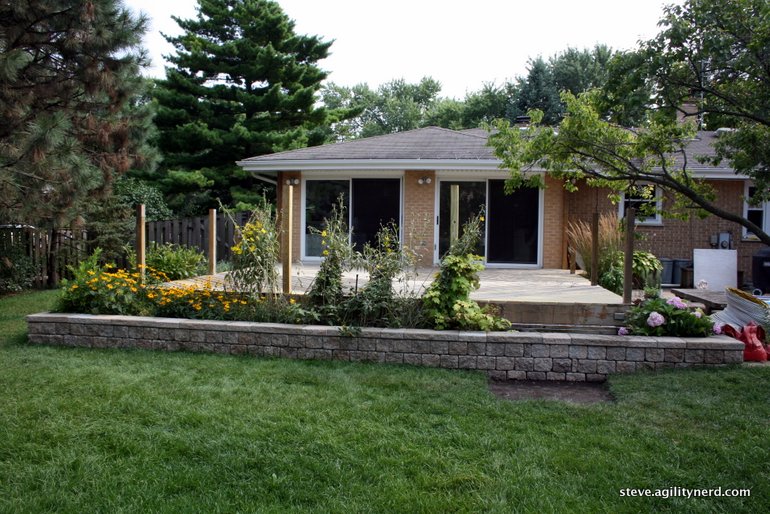
After a fair amount of searching I went with Timbertech Evolutions Rail composite railings with stainless steel cables. I liked that the top rail was continuous and there are no posts sticking up.
I used their online design tool and it calculated way too many sets of cable connection kits (which are almost the most expensive part of the decking!) and too many stair "kits" for my two step stairs. IIRC the Home Depot bill would have been $9,000 for 60 ft of railing! After figuring out I could run the cables through the posts and only needed 3 sets of connectors and fewer stair railing kits I got the material price down to around $3,500.
I looked into replacing the decking with composite decking, but put it off until next time the deck needs refinishing. By then the wood will probably need replacing.
Demolition
By removing the stairs I had to remove a number of posts and put in two posts along that edge of the deck to divide the space evenly. In turn that meant replacing a number of deck boards. Sounds easy right? Well the newer 5/4 decking was significantly thicker than the weathered decking in place. I looked at a bunch of places for thinner 5/4 decking with no luck. So I ended up using my router to cut 3/16" notches in the bottom of the new decking where they crossed the deck joists. What a tedious job since the boards are on 45 degree angles to the joists!
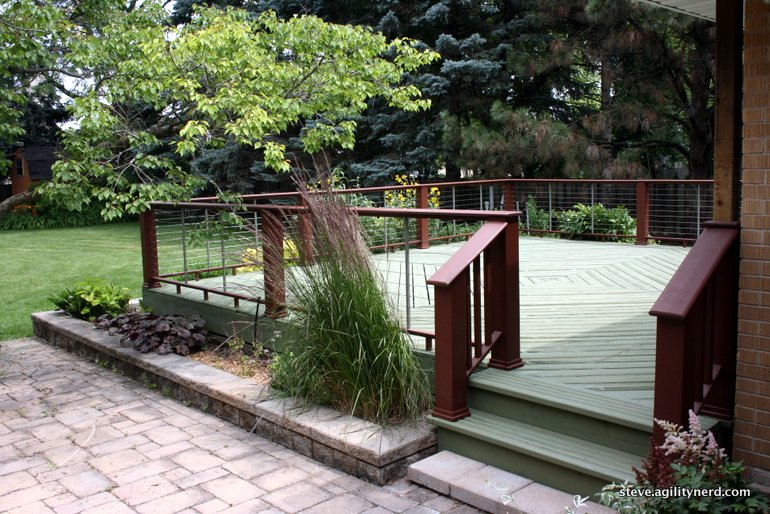
Replacing the stair risers and treads was fiddly too. I'd never put in stairs before and I had some problems getting four foot wide stair treads that weren't warped or damaged at any of the big box stores. On the patio side the rise is 2 inches taller than a "standard" rise. So I decided to go with a stone step that contrasts in color slightly from the patio and I raised it slightly above the patio to create a shadow line to make it visible.
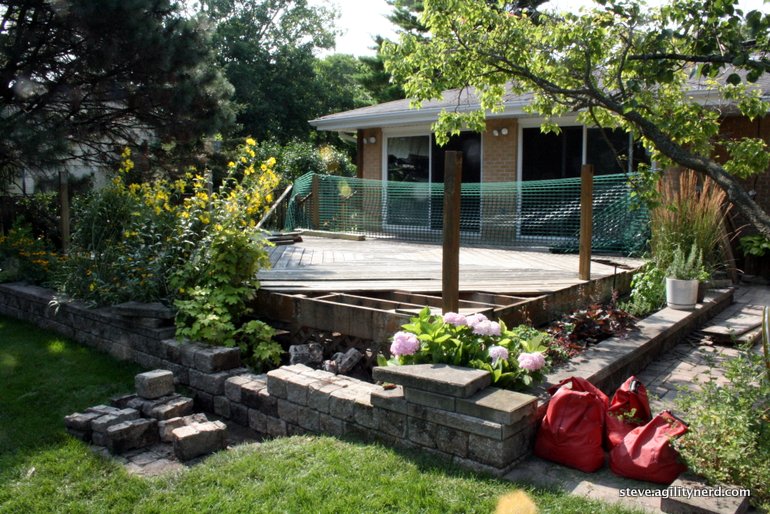
In other stair news, removing the one set of stairs meant I had to reconstruct the Unilock brick planter to cover that area. Of course in the mean time Unilock has discontinued the larger brick caps that made up my planter. So I ended up getting the new smaller ones and alternating longer/smaller blocks to come up with a more planned look. Of course I had to buy a cutoff grinder to cut blocks to fit...
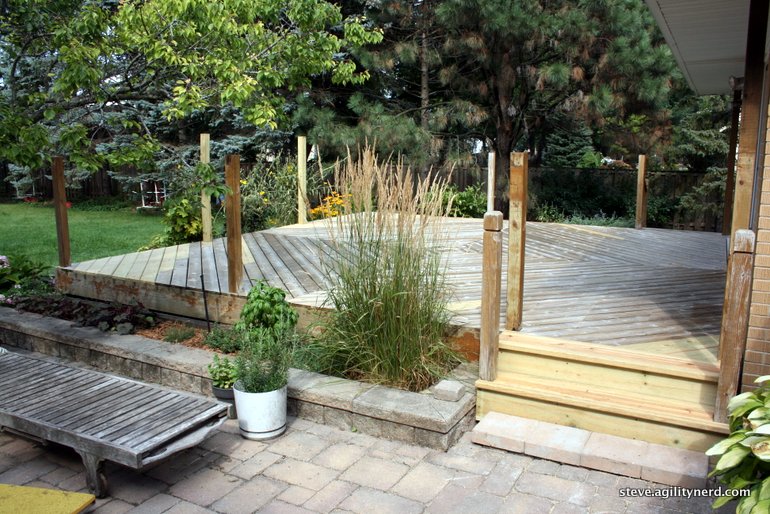
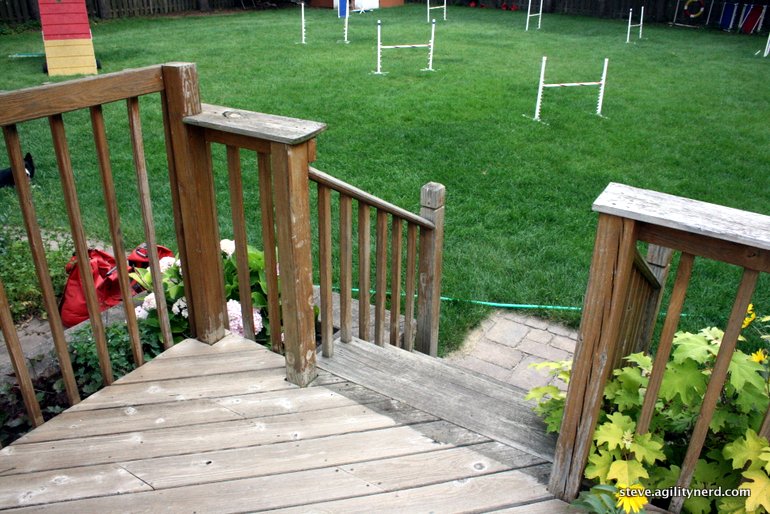
Installing the railings wasn't too bad, just the usual problems with nothing being really square or level. Getting the angles right on the stair railings took a while to plan and execute. All in all it probably only took me three times as long as a professional installer!


So once everything was rebuilt I had to wait over winter for the new wood to weather enough for it to accept stain.
Refinishing
I used a Cabot semi solid stain on the decking/stairs. The extremely weathered wood mixed with the repaired boards and new stairs meant I couldn't go with a transparent/semi transparent stain. The new boards would really stand out. Nancy did a series of test color strips on scraps of old decking. Her task was more challenging because color mixing at Menards for Cabot stains was no where close to their published/sample colors. So we probably spent $100 on buying quarts of their colors to test. We also left the test boards out over winter to see how the stain would look weathered.

We ultimately went with a green that was a combination of two of the greens.
Just a few weeks ago I used a "brightener" product and a power washer to clean the deck (after protecting all the plants). That wasn't too bad at about 4 hours. Then I went around with a drill and tightened down all the screw heads that were sticking up slightly on the weather wood.
Then the wait was on for a dry day that wasn't too hot - I guessed right and even though it was in the mid/upper 80s two days later we taped everything up and brushed on the stain in a 5 hour odyssey and the deck was done! The rain came 16 hours later on the day that was predicted to be dry; glad I didn't wait. After all the prep and staining work I can see why people pay to have that work done!
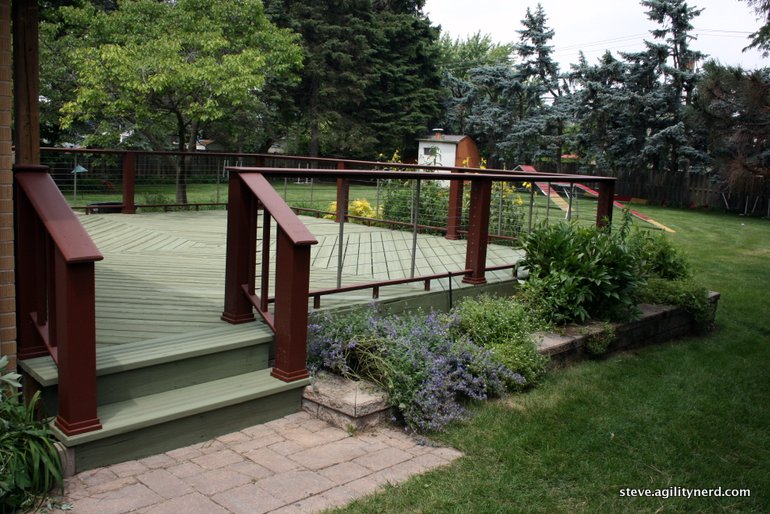
I think it looks pretty good!